How To Install Aluminium Edging? The 5 Essential Steps
Leave a message
Proper installation of aluminium edging is crucial for achieving a durable and aesthetically pleasing finish. Whether you're working on a residential or commercial project, mastering the techniques for installing aluminium edging ensures the success of the entire installation. Below is a detailed guide from preparation to the final cleanup to help you achieve a flawless result.
The 5 Essential Steps for Installing aluminium trim profiles
1. Preparation & Cutting
Accurate measurements are key to a successful installation. When cutting aluminium edging, use a miter saw with a non-ferrous blade or a high-quality miter box and hacksaw. For corners, ensure precise 45-degree cuts for seamless, professional-looking joints.
2. Choosing the Right Profile Height
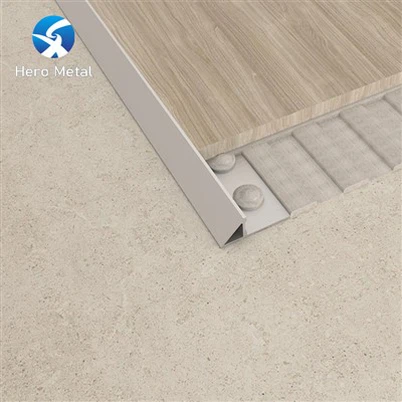
Select a profile that is 1-2mm taller than the tile thickness to account for the thin-set adhesive layer. This ensures the aluminum tile trim will fully cover the tile edge, preventing any chipping or damage.
Insert image/video of choosing the correct profile height
3. Applying Thin-Set Mortar
Apply a layer of thin-set mortar to the surface where the profile will sit. The layer should be thick enough to completely embed the profile's anchoring leg. A common cause of failure in installations is insufficient mortar coverage beneath the anchoring leg, which can lead to gaps and cracking.
Proffessional installation steps tutorial video by Hero Metal - China 10-Year Tile Trim Manufacturer&Wholesale Supplier.
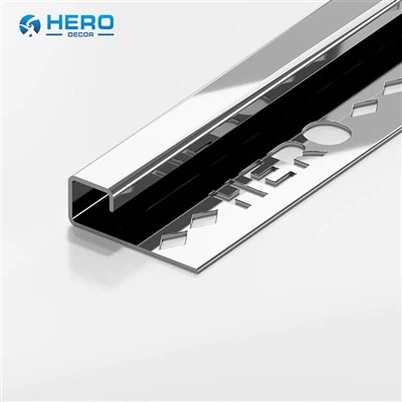
4. Installing the Aluminum Tile Trim
Press the aluminium profile for tiles firmly into the wet thin-set, ensuring that the anchoring leg is fully covered and the face of the profile is flush with the intended tile surface. Be sure to remove any excess mortar that squeezes out during this step.
5. Setting the Tiles & Grouting
Set the adjacent tiles so their faces align with the tiles profile. Maintain a uniform grout joint, typically between 1.5mm to 3mm, to ensure consistency and avoid uneven gaps. Let the thin-set cure completely before grouting.
If you have any questions or need further assistance with your aluminium edging installation, don't hesitate to reach out! We're here to help. Leave a comment below or contact us directly for expert advice and support. Let's make sure your project is a success, from start to finish!